Manipulative Human Artwork with Particles and Flying Flower Petals in Photoshop
Step 1
Create a new document 724px * 1024px with black background. We will prepare some ground texture first, so let�s load the Metal Texture into Photoshop and select a portion of it with the rectangular marquee tool: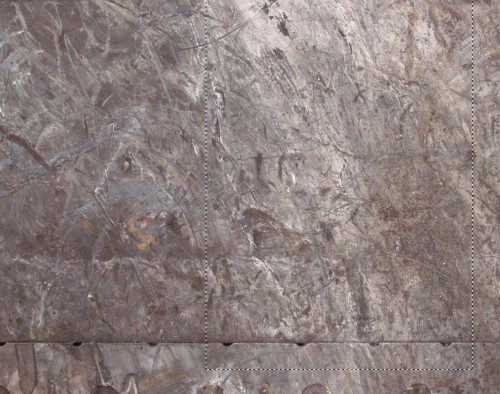
Copy and paste the selection over to our document, use the free transform tool to perspective this as shown below:
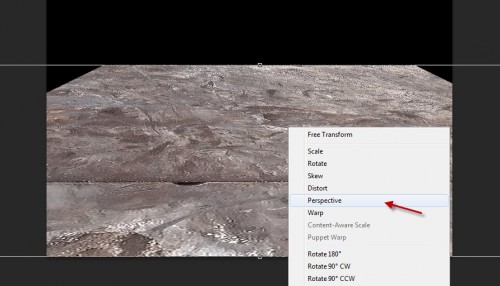
Then, use a soft eraser to remove the edges of the texture to create some depth:
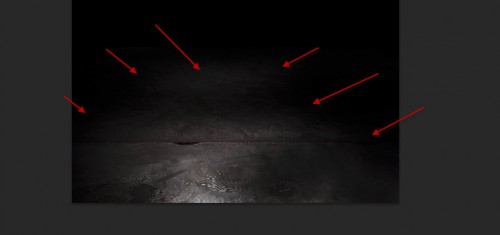
Add the following 3 adjustment layers as clipping mask to this texture layer:
Black and White

Levels

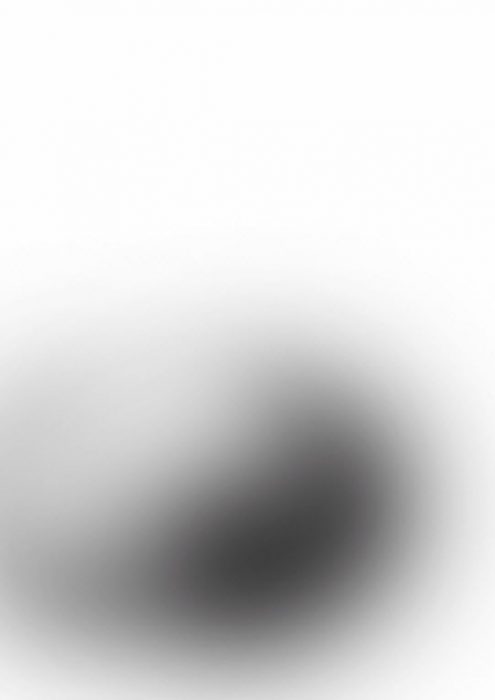
Layer mask on the levels adjustment layer:
Curves
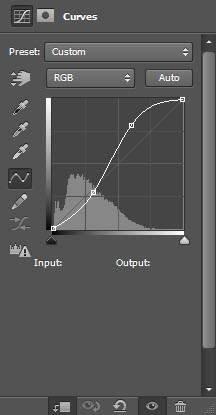
and you will have the following effect so far:

Step 2
Load the model image into Photoshop, and cut out the model as shown below, resize and place it above our ground texture:
Tidy up the edges of the model with a soft eraser, as well as fade the lower body a bit so it blends into the background:
Hint: set the eraser tool�s flow and opacity to around 50% for a subtle effect.
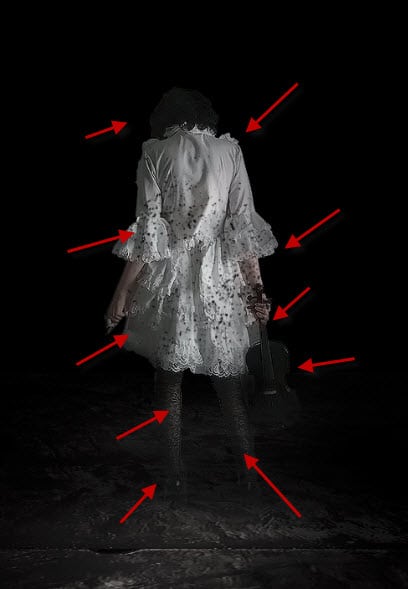
Add a levels adjustment layer as clipping mask to this model layer:

Attach the following layer mask on this levels adjustment layer:
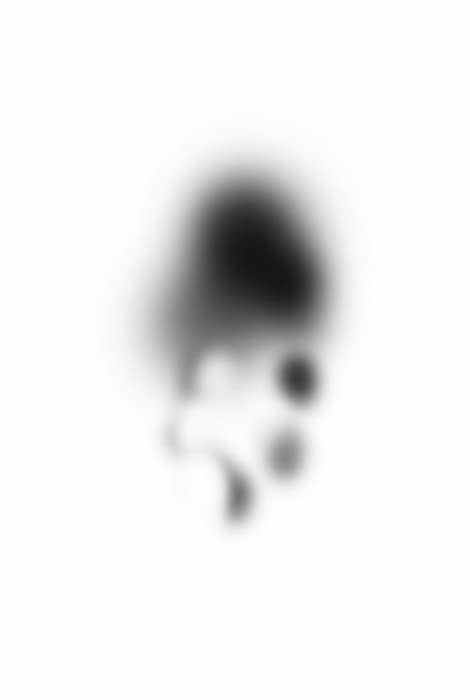
and here is the effect so far:

Step 3
The hair looks a bit boring in my opinion so I decided to draw some instead. Create a a new layer and draw a path with the Pen Tool: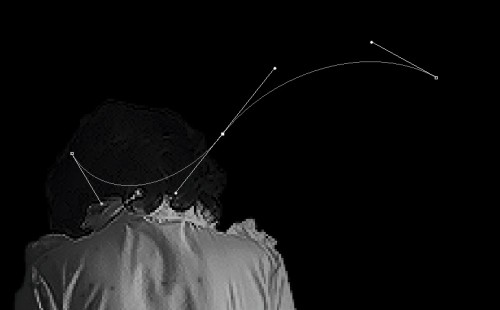
Choose a 4px hard brush:
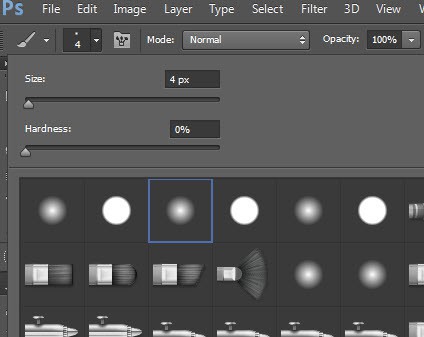
Go back to Pen Tool and Right-click on the Path, choose �Stroke Path�:

Stroke the path with this brush, and turn on �Simulate Pressure�:
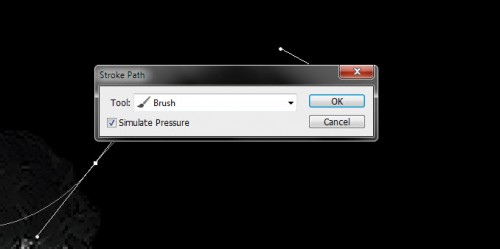
and you will have the following effect:
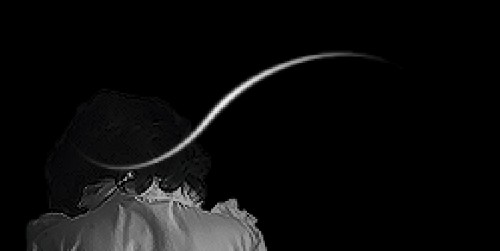
I repeated this above steps many times and adjusted the shapes, size and colour of the hair, and I have the following effect as a result:
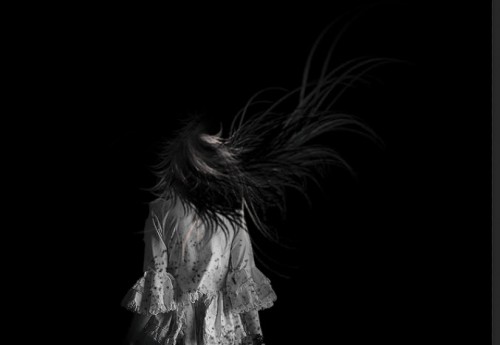
This can be a lengthy process so be patient :) If you have difficulty with this step, check out this video tutorial I have on the PSDVault Youtube Channel:
Step 4
We can now paint or render some cloud over the background with either a cloud brush, or cloud filter, make sure you adjust the layer opacity to a low value to ensure we only have a subtle effect: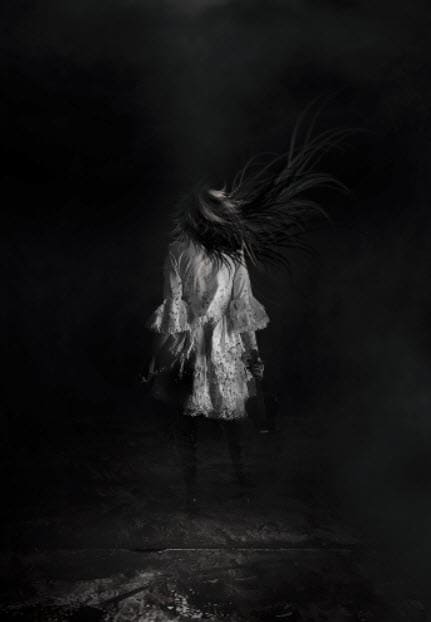
We can add some particles around the model � once again we utilise the metal texture and select a piece from it:
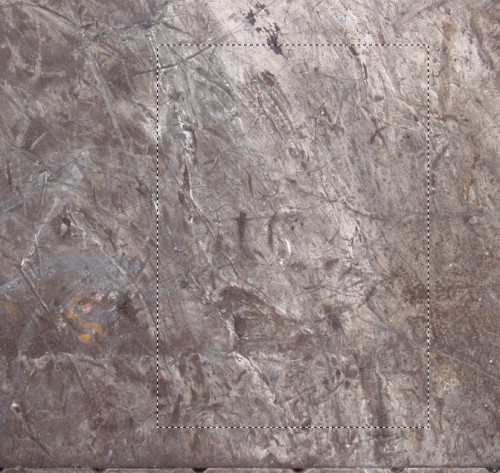
Copy and paste the selection over to our document and place the layer below the model layer, add the following 2 adjustment layers as clipping mask to it:
Black and White
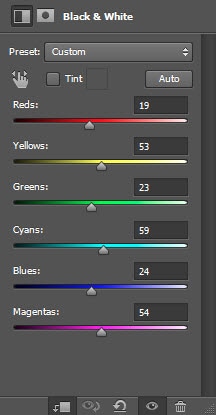
Levels

Warp this particle layer so it forms a flying shape:
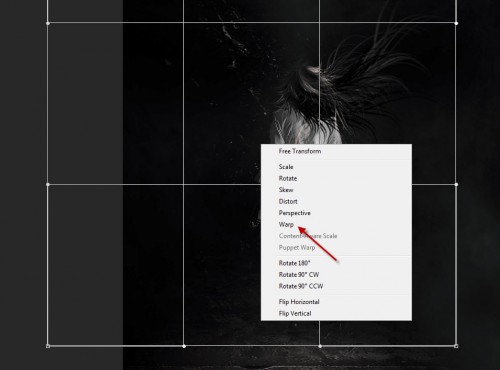
and here is the effect you will have:

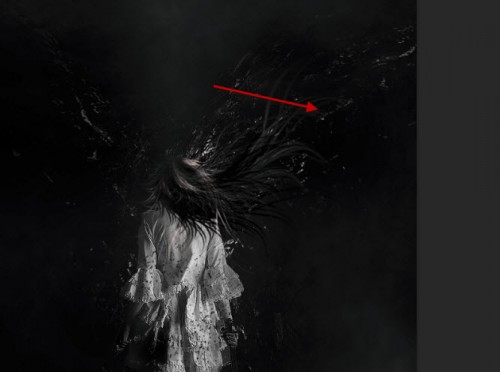
Repeat the above steps and add some flying particles to the right hand side as well:
Step 5
OK we can now make a new brushset for painting the flying flower petals, create a new document (size doesn�t really matter), create a new layer and paint a single dot: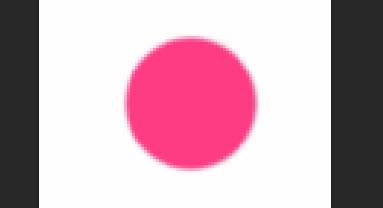
Warp this dot into a petal shape with the warp tool:
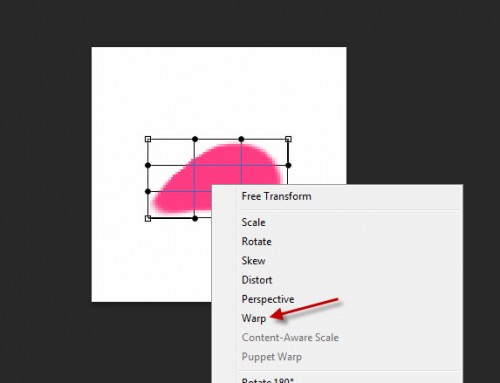
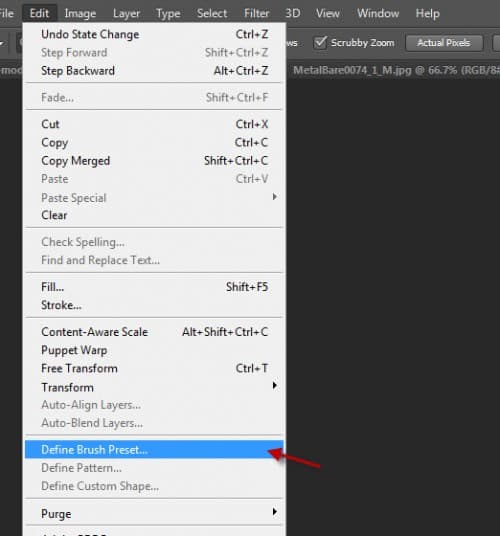
Then hide the background layer, go to Image > Trim and trim out the transparent pixels, then go to Edit > Define brush preset:
Give the brush a name, and go the brushes windows and apply the following settings:
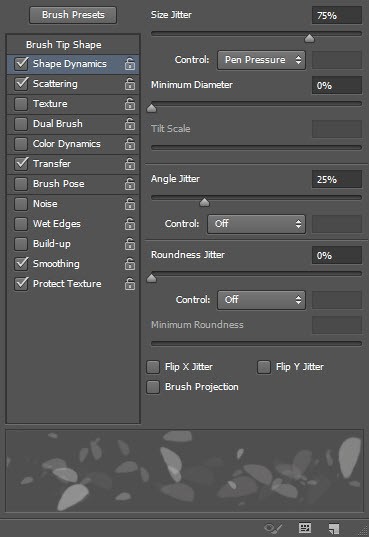

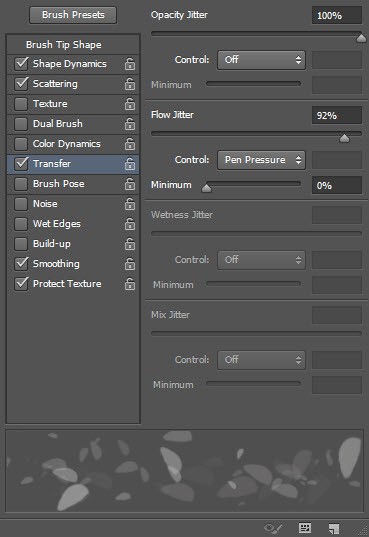
Use this brush to paint the flower petals according to the flying Hair path:

and you will have the following effect so far:
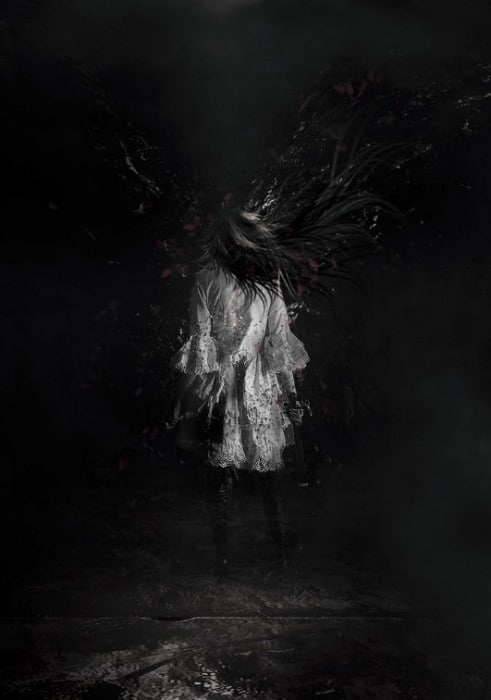
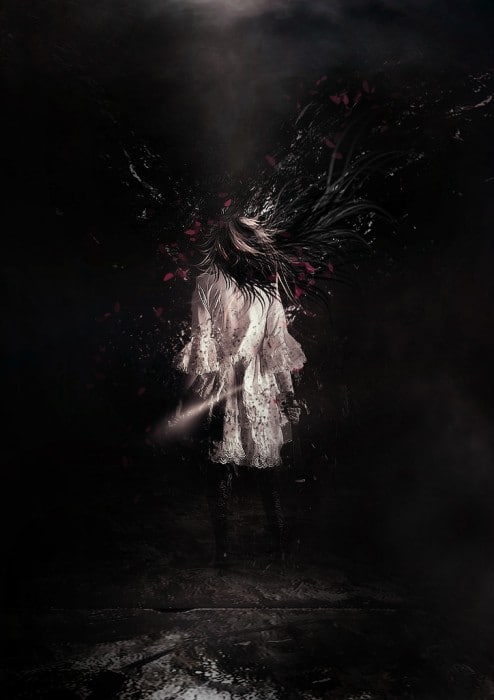
I further added some colour adjustments over the image, and you will have the following final effect: (click to enlarge)
That�s it for this tutorial! Hope you enjoy it and find it useful! Till next time, have a great day!
No comments:
Post a Comment
Note: Only a member of this blog may post a comment.